Organization Management
Manage Organization
The organization widget it used to manage organizations, nodes and their details.
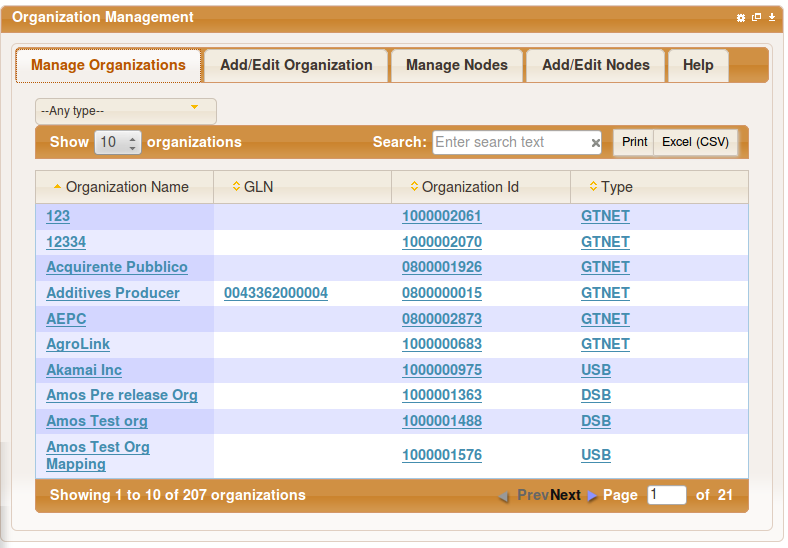
Add New widget as shown here and select "Organization Management". The Widget appears as shown below.
The drop down may contain other organisations you can manage in addition to Downstream or Upstream basic organisations.
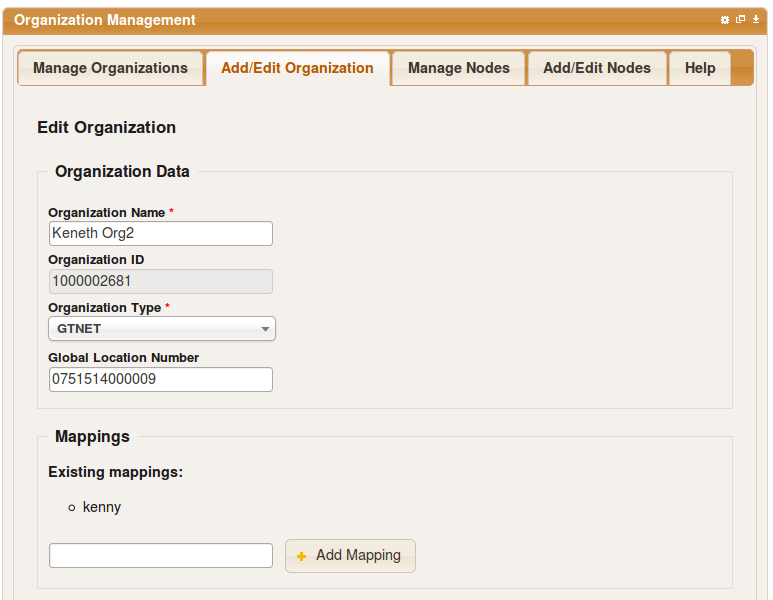
Edit Organization
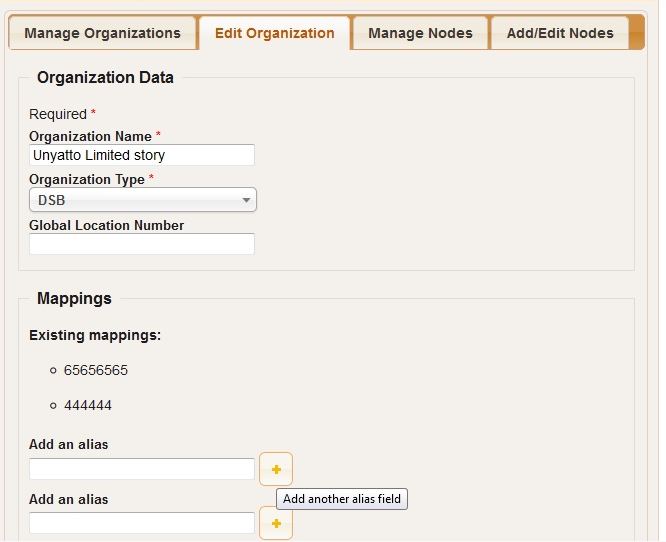
To Edit Organization Details, Select the Organization from the list above by Clicking on it.
Add Organization
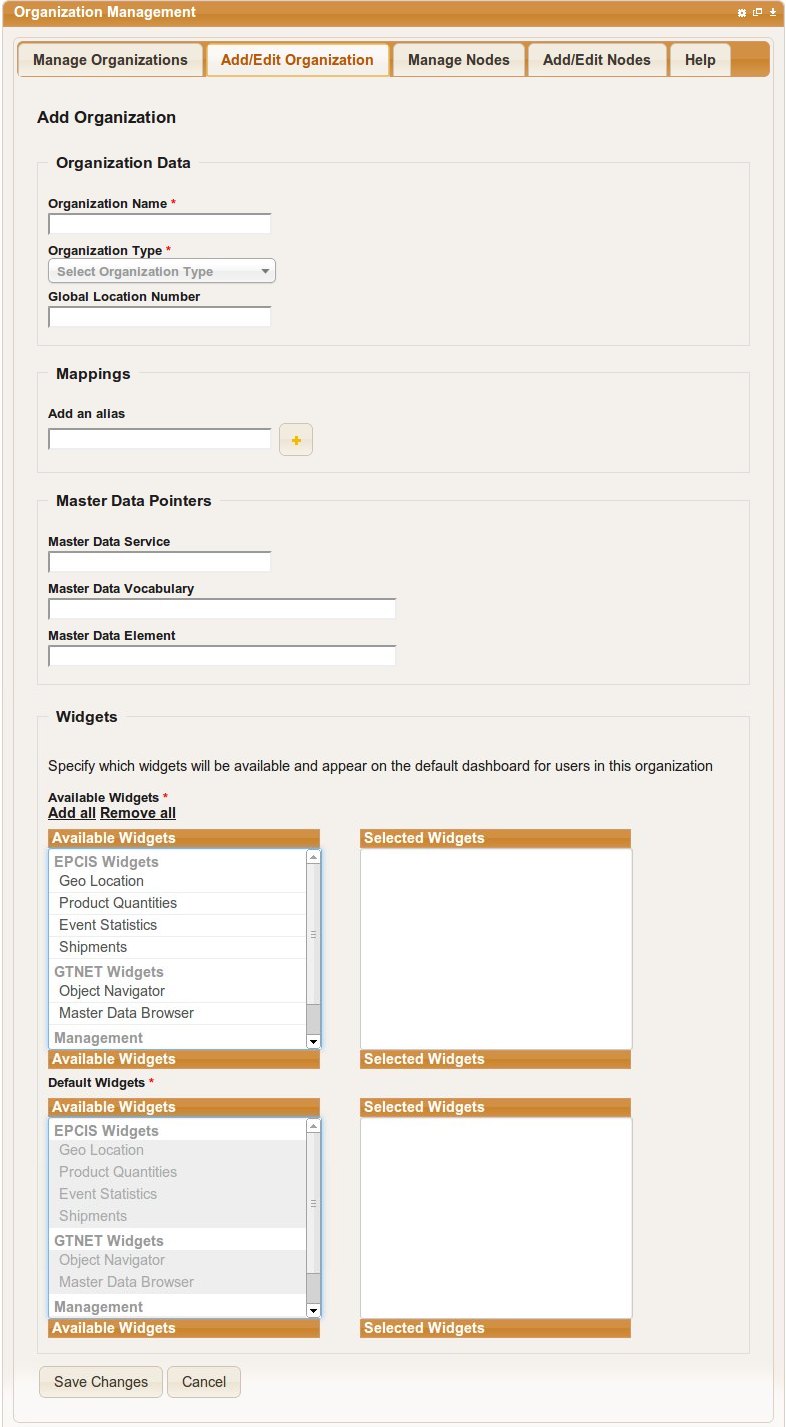
To Add Organization Details, Select "Add/Edit organization" tab as below.
Note
It is possible to add more than one organization with the same name. However, the organization Id will be different for each organization.
Mappings
Mappings can be added to link any incoming / outgoing shipment with the new organization. To view the mappings click on it from the manage organisation tab.
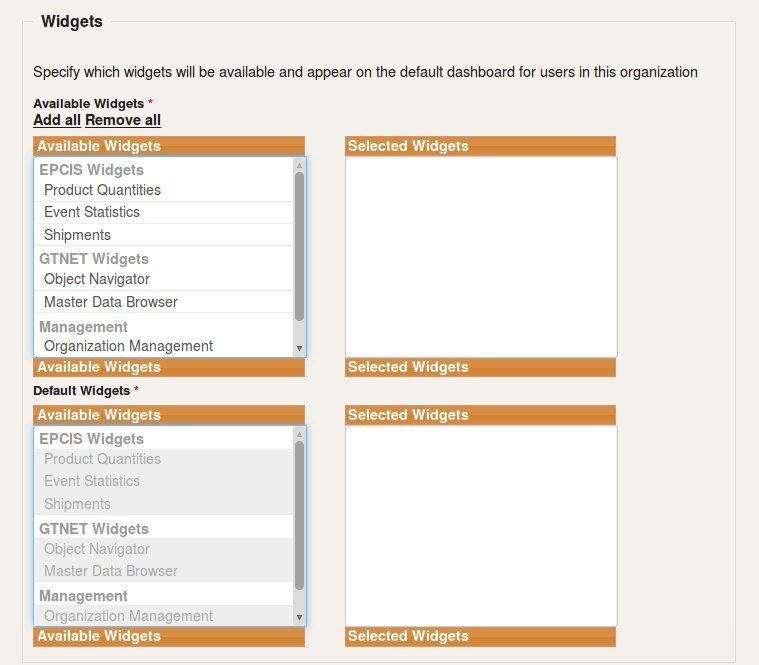
Available and Default widgets
Specify which widgets will be available to the users of the new or edited organization and which of the selected widgets should show on the default dashboard
Only the selected items on the available widget list box will be selectactable on the default widget list box.
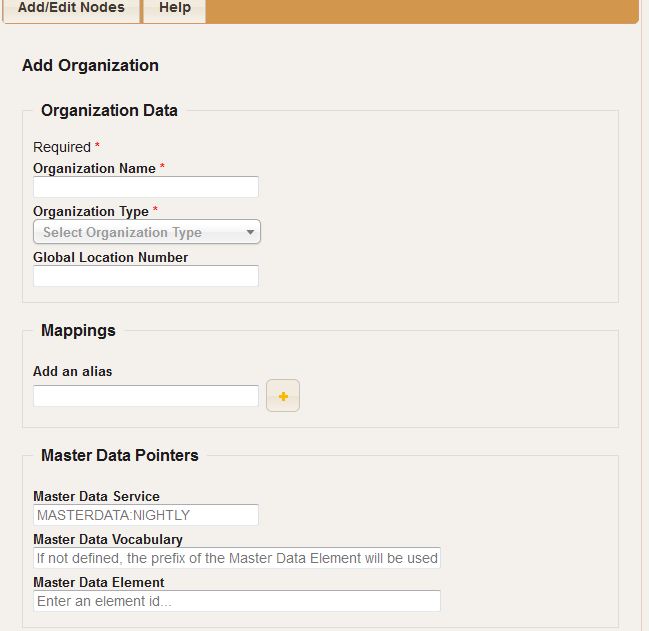
Master Data Pointers
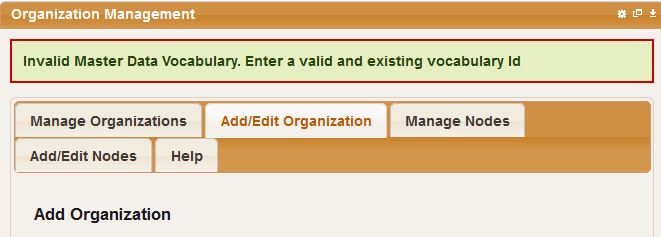
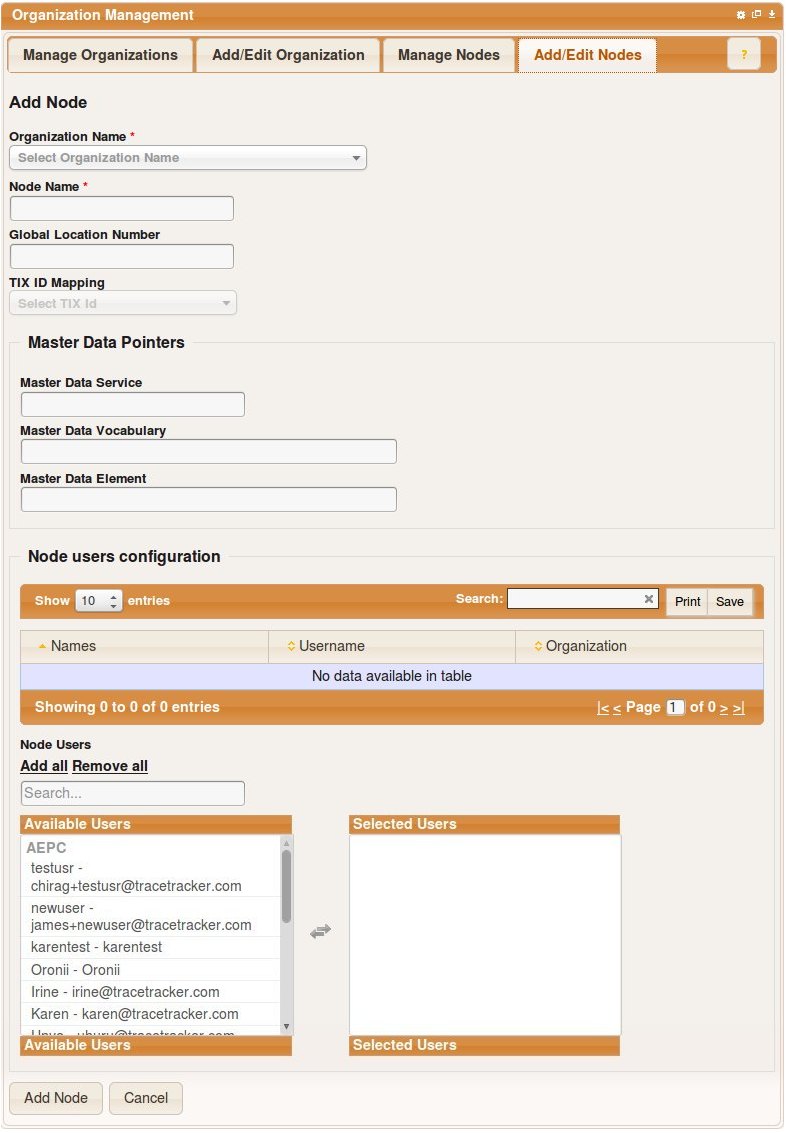
A newly introduced section is the Master Data Pointers. These fields are used to input pointers to the master data of the organization/node being created. All values are optional. If supplied, the values have to be valid i.e. the Master Data Service has to be a valid an existing service of the MDS containing master data for the organization/node, the Master Data Vocabulary has to be a valid vocabulary id e.g. (urn:tracetracker:mds:gns:organization), the Master Data Element has to be a valid and existing element id. If not supplied then the values for the TIX are used as the defaults.
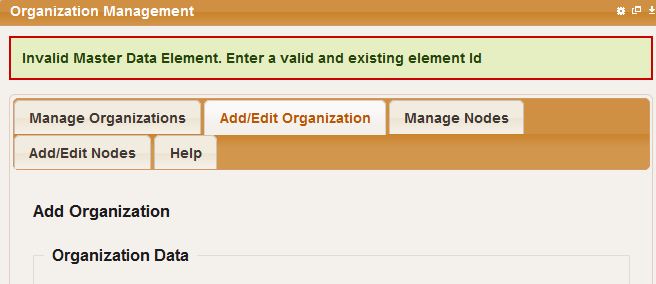
If any of the values supplied are not valid then an error message is presented to the user. The same applies when adding a node:
Manage Nodes
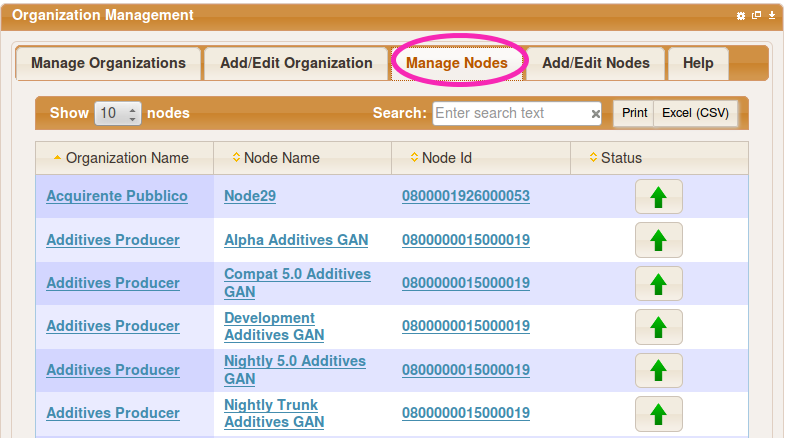
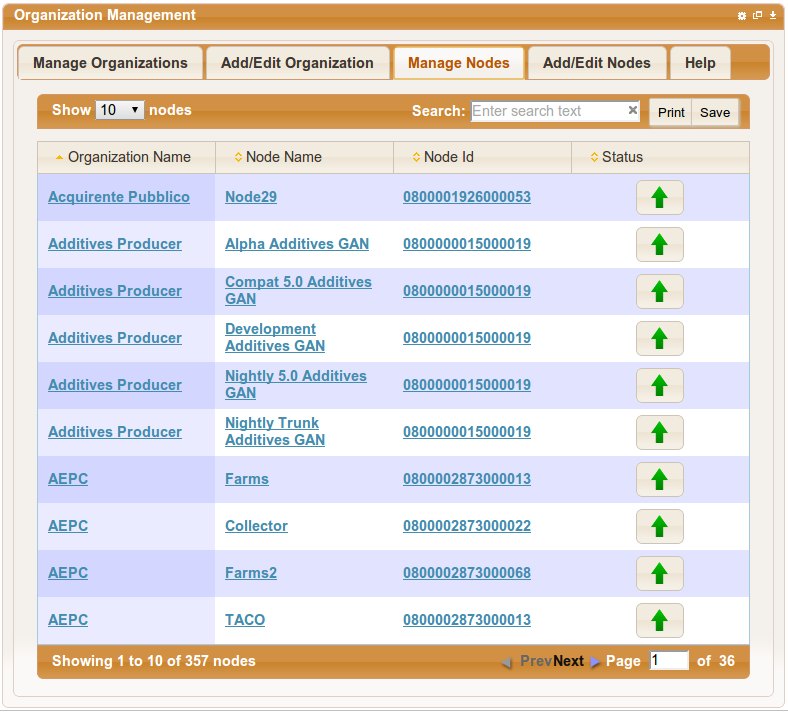
To Manage Nodes, select the "Manage Nodes" tab as shown below.
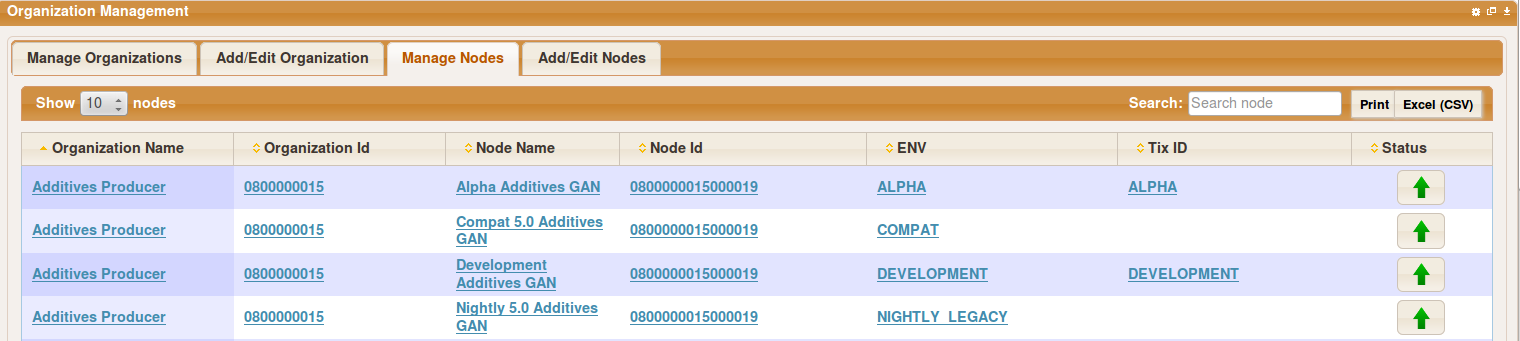
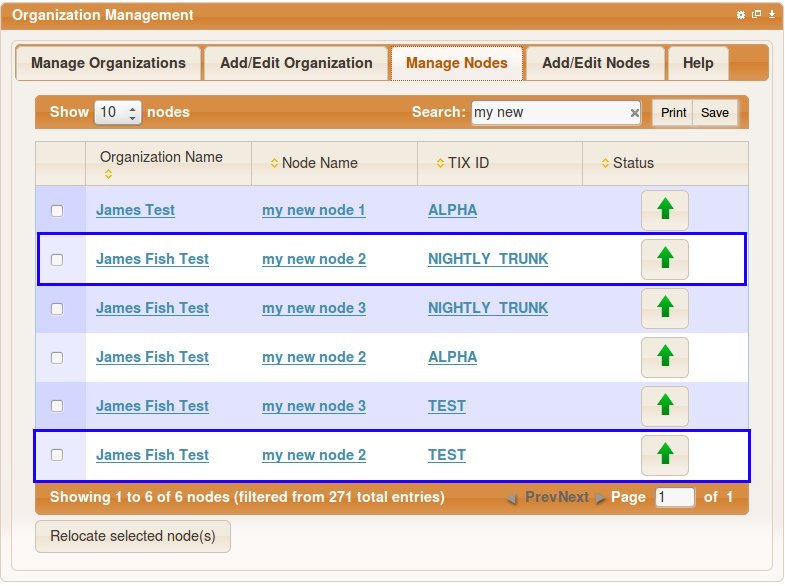
With the correct access rights, one is able to see the TIX ID and ENV on the listing:
Add Nodes
To add a new node, select the "Add Edit Node" tab as shown below.
You will also be able to assign / un-assign users to the newly created node.
Note
Any new node added will be added to the access list of the current user.
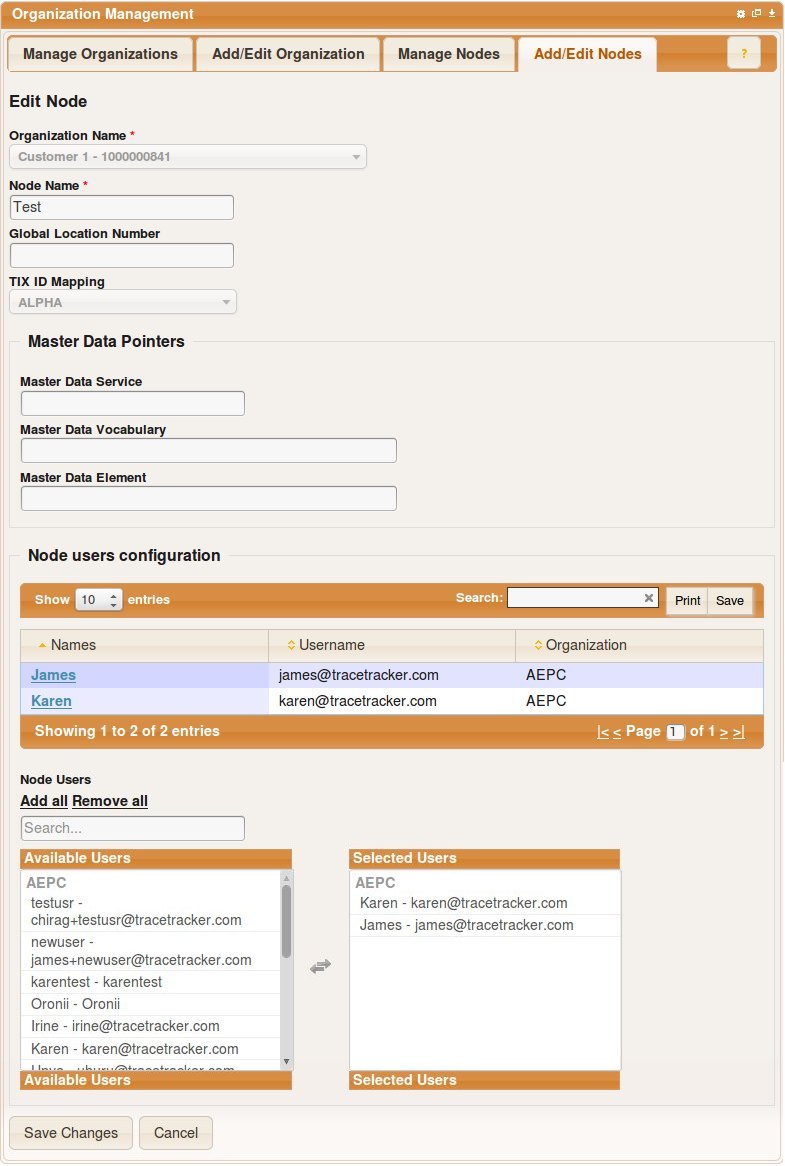
Edit Node
To edit a node, Select it from the above tab by clicking on it. You will then be presented with a form like the one below however, then organization name and TIX ID Mapping will not be editable.
A list of users who have the node assigned to them will be displayed. You can also assign / un-assign the node to / from a user.
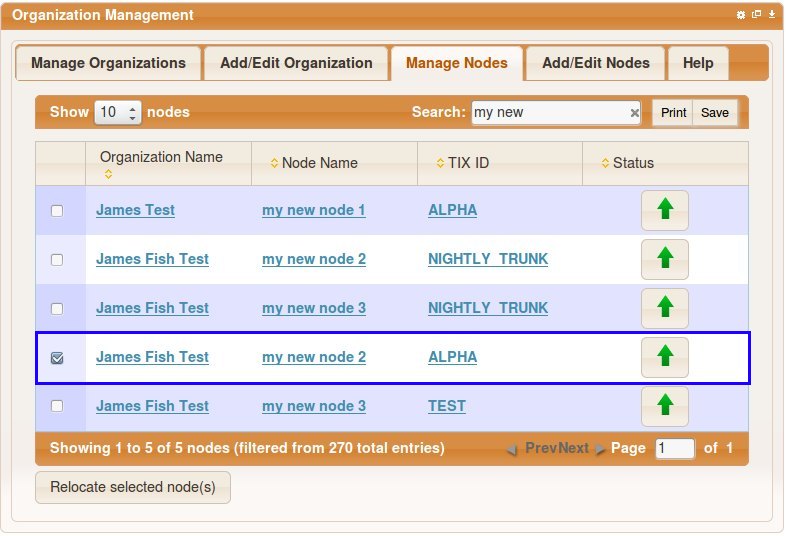
Copy / Move Nodes
To copy or move a node, select the node(s) you want to copy / move then click on the "Relocate Node(s)" button as shown below.
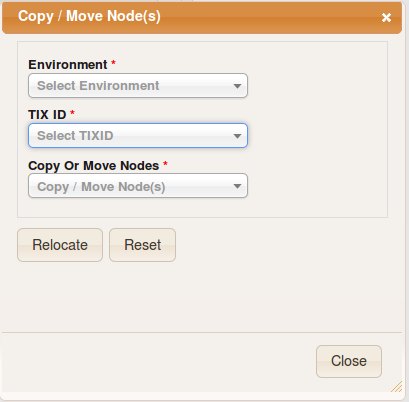
You will be presented with a dialog box as shown below, which will allow you to select the following:
- The TIXID you want the nodes to belong to
- The Environment you want the nodes to belong to
- Whether to copy or move the nodes.
Once you have chosen the TIXID, Environment and whether to copy or move the nodes, click on the relocate button.
Note
The mds.service.id configuration property will not be copied when copying / moving nodes to a different environment
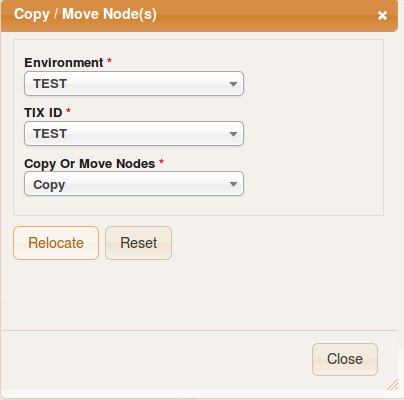
Once the operation is complete the manage nodes table will reload and your new node will be displayed as shown below.
Disable Node
To disable a node, click on the button with a green arrow denoted by a "Disable" tool tip
Widget configuration problems
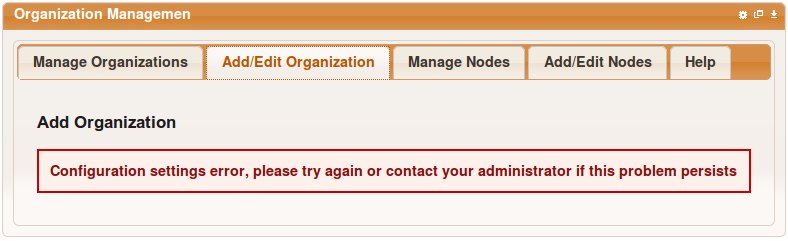
Once you load the widget and you are presented with a message like the one shown below on the Add / Edit organisation form or Add / Edit form, please refresh the widget. If you reload the widget and your are still presented with the message, contact your administrator.