
Add / Edit Tool
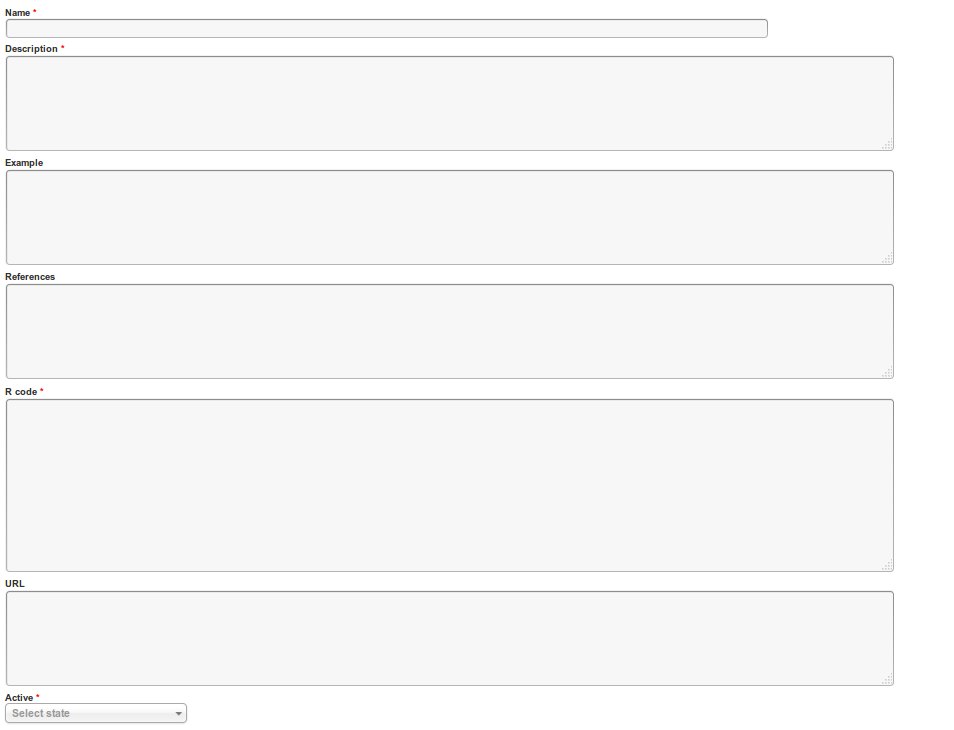
Once you click on the add tool link, you will be provided with a form like the one shown below.
Field | Description |
|---|---|
Name | The name of the tool |
Description | A brief description of what the tool does. This will be displayed on the information tab |
Example | An example that demonstrates how the tool works. This will be shown on the example tab |
References | A list of references to the method, as well as any links to external information of relevance |
R code | The R code that will be use to perform the calcualtions |
URL | Reserved for future use |
Active | Dictates whether the tool will enabled or not |
Once you fill in the details of the tool, you can also define the fields that will be used to collect parameters that will be used by the tool perform calculations.

The Add tool field button allows you to add multiple fields.
Field | Description |
|---|---|
Label | The human readable name for the field (This is the label that will be used for the text box) |
Name | The name of the form field (This should not contain spaces) |
Field Type | Select whether the field will be a text box or a drop down |
Labels (Radio button items) | Human readable names for radio button fields. Several labels can be added by comma separating them e.g radio 1, radio 2, radio3, etc... |
Validation | This is used to select what type of values should be allowed for the field. |
Default Value | A value that will be pre-loaded for the field |
Order | The sequence to be followed when displaying the form field i.e if you have many fields, this field allows you to determine how the fields will be ordered |
Required | Select whether the field must contain a value or not. |